

Important note: It's always a good idea to look for firmware updates for your Helix camera. Keeping your firmware up-to-date ensures that the camera has the latest security patches and fixes.
Web setup
If you are setting up the camera on the web you first need to setup the password.
Step #1
Configure the password for your camera.
The camera cannot be added with the default password so you will need to configure it as follows:
Plug your camera into one of the ports on the back of your router with a network cable. Most routers have ports labelled 1-4 on the back that the camera can be plugged into. Your camera may have come packaged with a network cable. If it did not, you will need to purchase one separately.
Once the camera is plugged in, it will be auto assigned an IP address. To find the address, download the Helix IP Config Tool. Once you install the tool, run it to find the IP Address of the camera. The default username and password for Helix cameras is admin/123456.
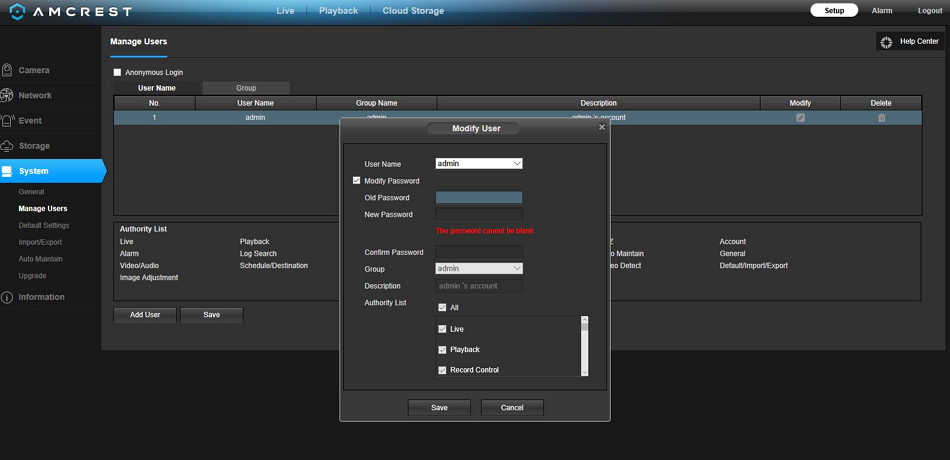
Using the IP address that was found with the Config Tool, log into the camera interface to change your default password. Once logged in, navigate to Setup (top right) > System > Manage Users. This may vary, but should be the path for most Helix Cameras. Check your camera documentation if you find that this path is not applicable.
Step #2
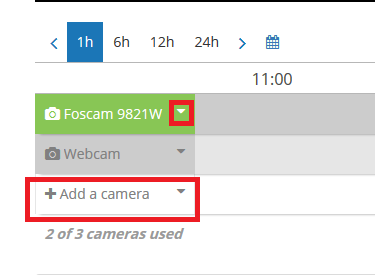
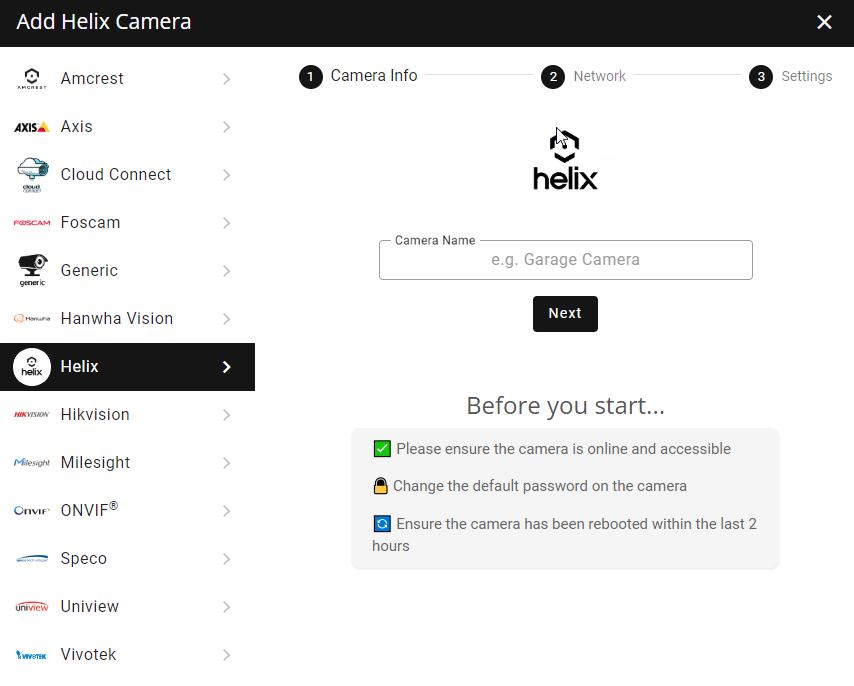
First Login to your account. You should see your "Timeline". Start the "Add Camera" Wizard. Click on "Add Camera" and pick "Helix". Enter a name for your camera and click next.
Step #3
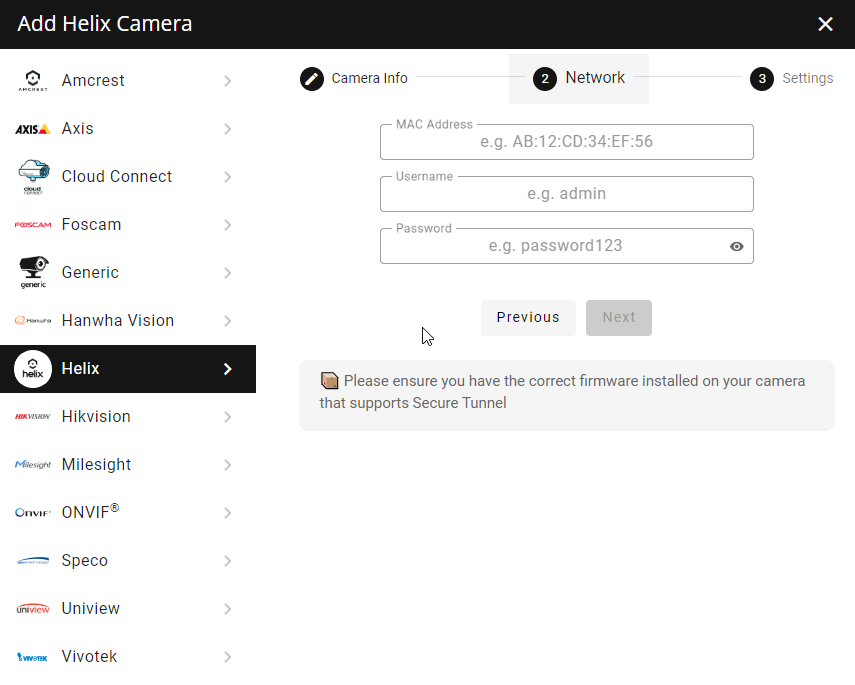
Once you click on next, you'll have to add in your camera's username and password along with the camera MAC address. Click "Next" when you are done.
Step #4
This is where you can also change whether or not you'd like notifications, Image Appearance, Quality and IR Mode (optional) Once you're done, click on "Finish".
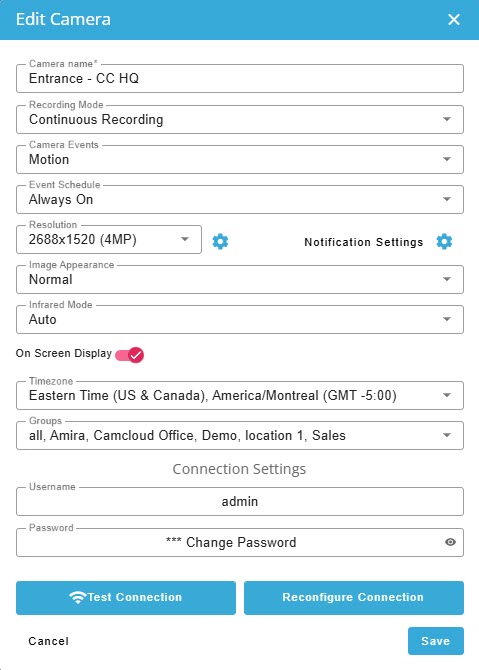
Now the setup wizard will configure your chosen settings and close.
Mobile setup
If you have the mobile app, you can fully setup the Helix camera.
Step #1
Plug the ethernet cable from the POE switch/router to the camera.
Step #2
Make sure your mobile device is on WiFi.
Step #3
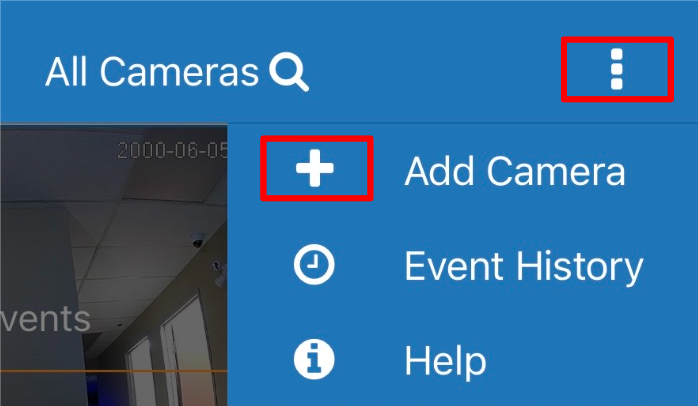
Click the three dots and then click the plus (+) sign and select Helix.
Step #4
Input the camera name and click "Next".
Step #5
Scan the QR code of the camera or input the MAC address and enter your username and password.
Finally choose your settings and you should be complete!