

Accessing Event Explorer
Event Explorer is a different way to look at your events where the Timeline is used to get a live view of your camera and map out the frequency of events right on a timeline. Event Explorer should be used for video review and quick filtering. It can be accessed from the "Event Explorer" tab at the top right:
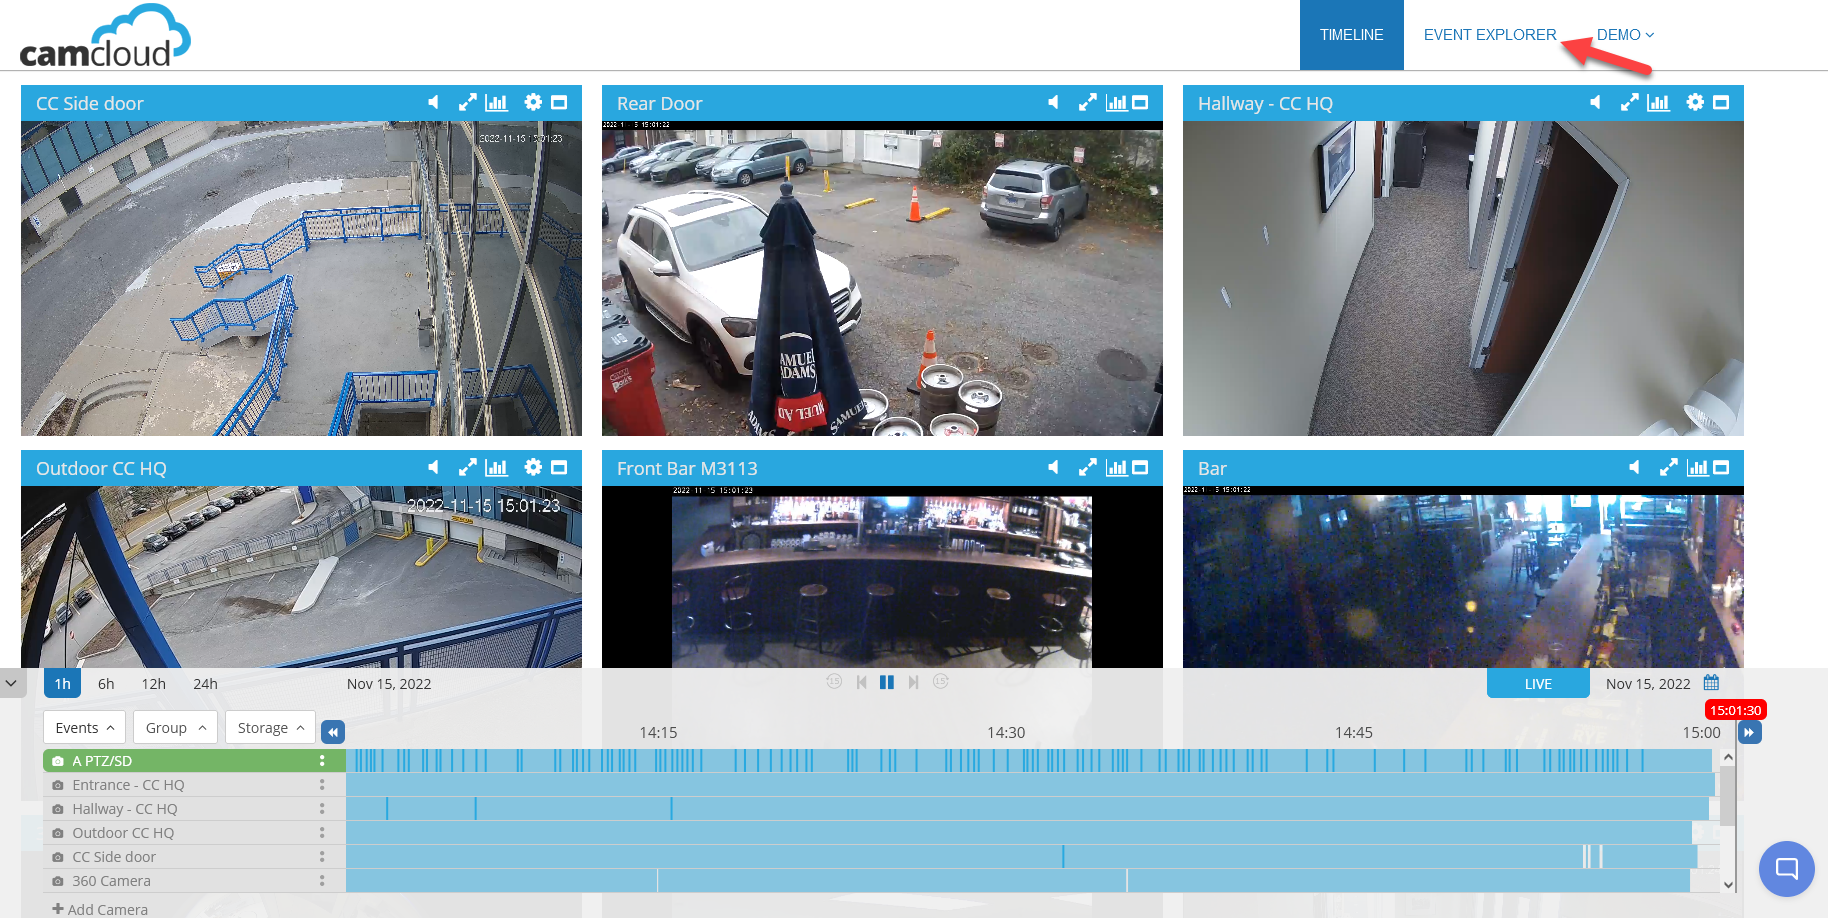
Default View
When you first open Event explorer you will be given a default view showing all your cameras and recent events. There are many options to really customize it to your needs, here is a general overview of all the options.
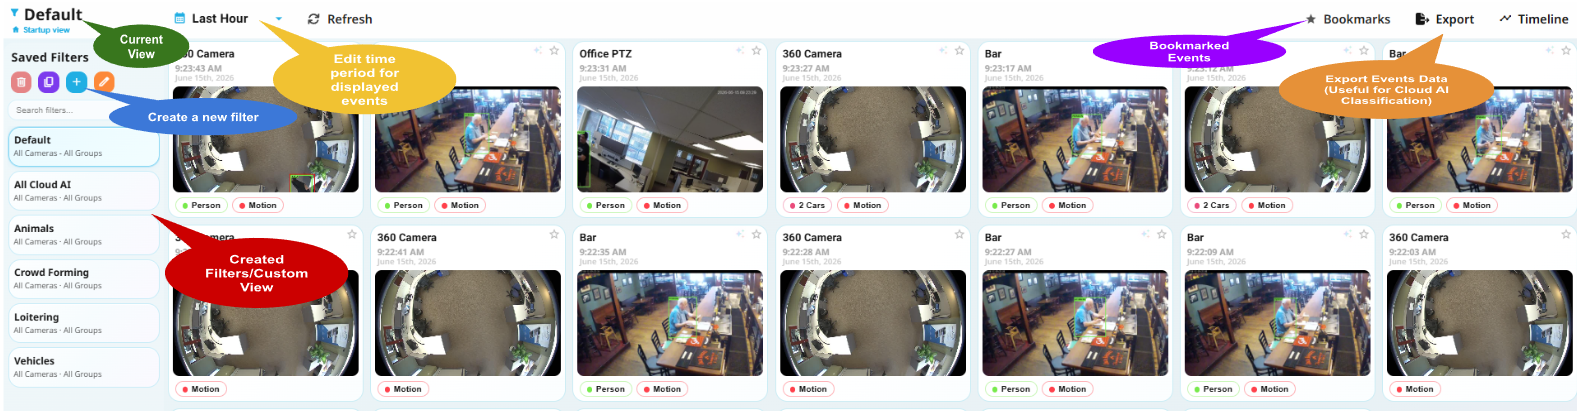
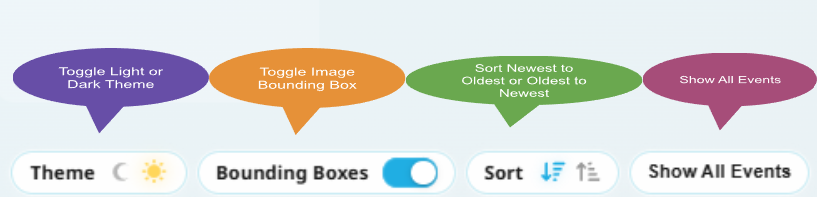
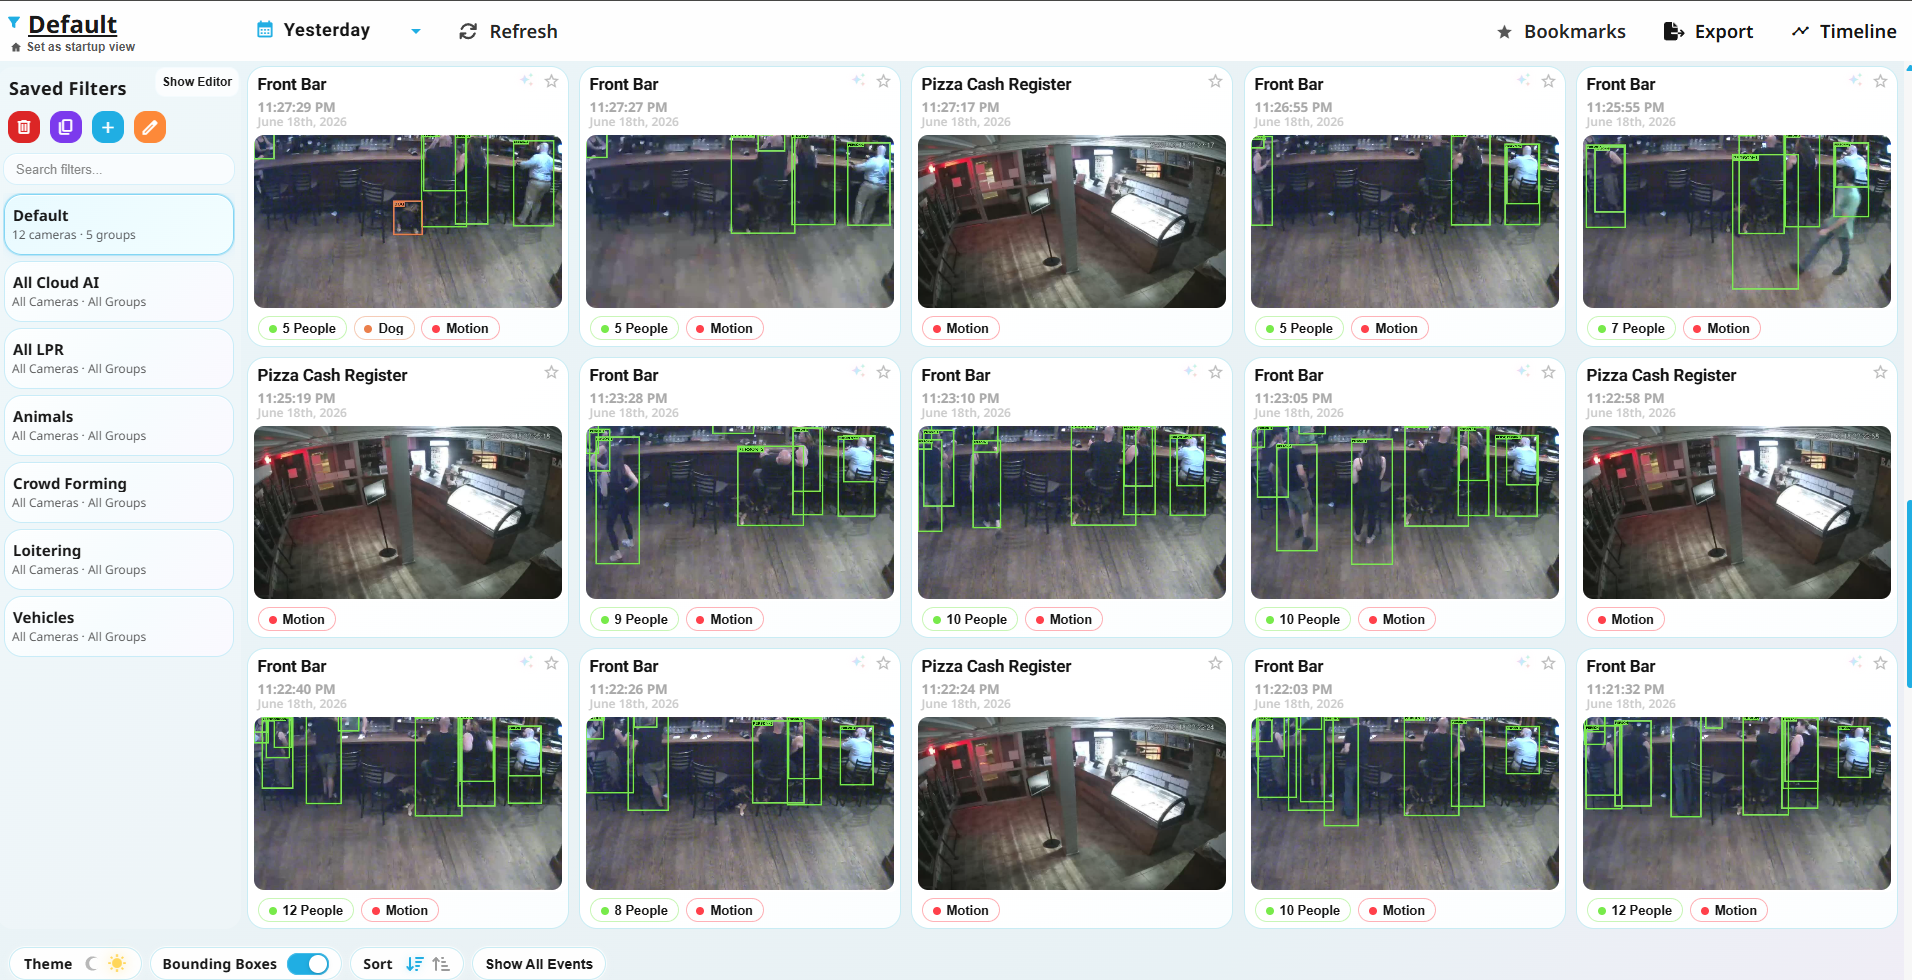
The bottom-left section of the page provides additional options to:
Change to Light/Dark theme
Enable/Disable image bounding boxes
Sort events from newest to oldest or oldest to newest
Show all events without using any filters
Creating a New Filter/Custom View
Filters are very important as they drive much more than the filters you see in the Event Explorer. The filters are also used for notifications. If you edit a filter here, you may also be editing your notification filter. BE CAREFUL!!!
Click on the "+" icon
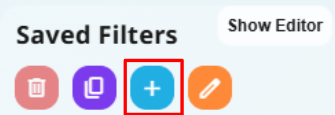
Now you can search for a filter category, select one of our sample filters or you can build a new one.
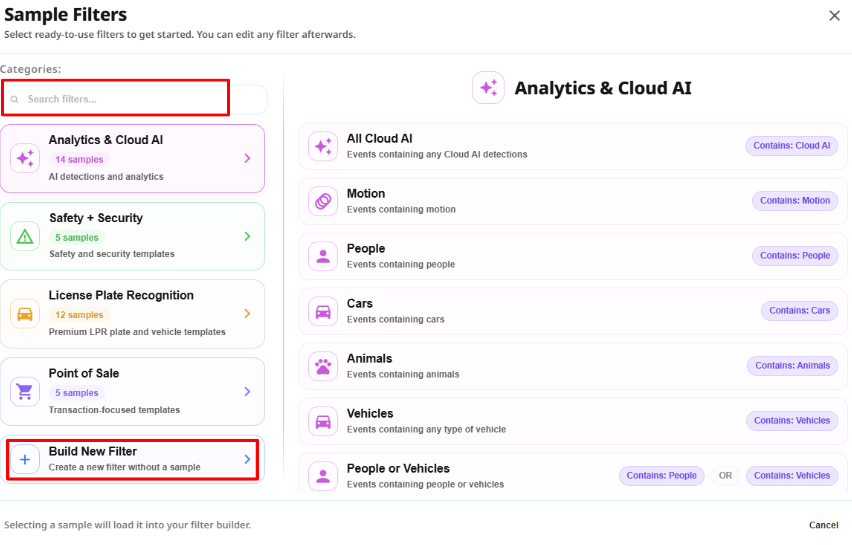
Once you select a sample filter or click Build New Filter, a new panel will open which has three sections: Actions, Scope and Builder.
Action: You can save the Filter or select another sample filter
Scope: Select which cameras or camera groups to include
Builder: Edit/Add conditions
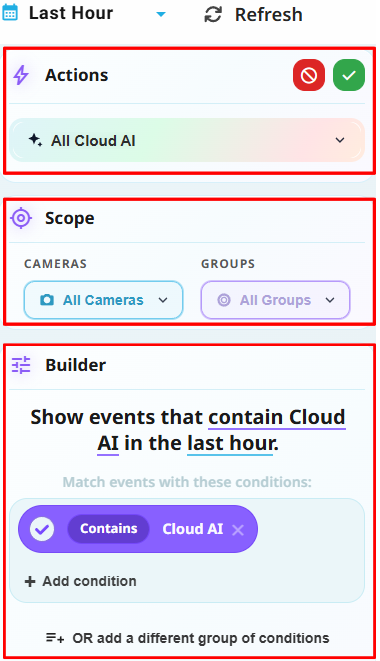
Under these sections you can customize it further by adding additional conditions for more precise event searches. You can adjust the time range, choose which cameras or camera groups to include, and refine your results based on your specific needs. If you have Cloud AI, you can also apply AI-based filters to quickly find the exact types of events you're looking for.
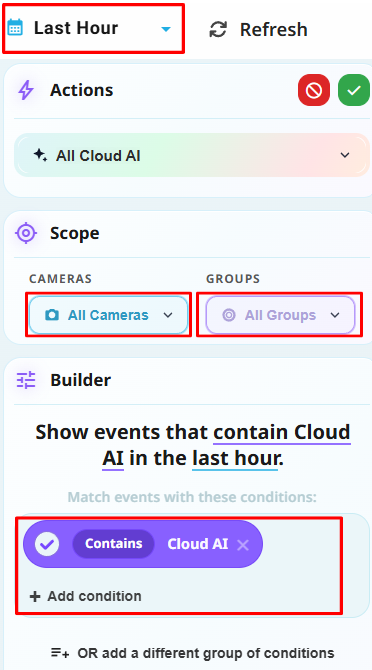
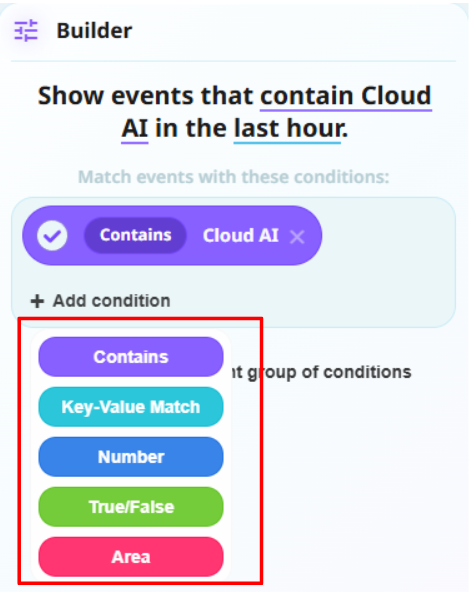
You can click and edit the current condition or you can click add a new condition
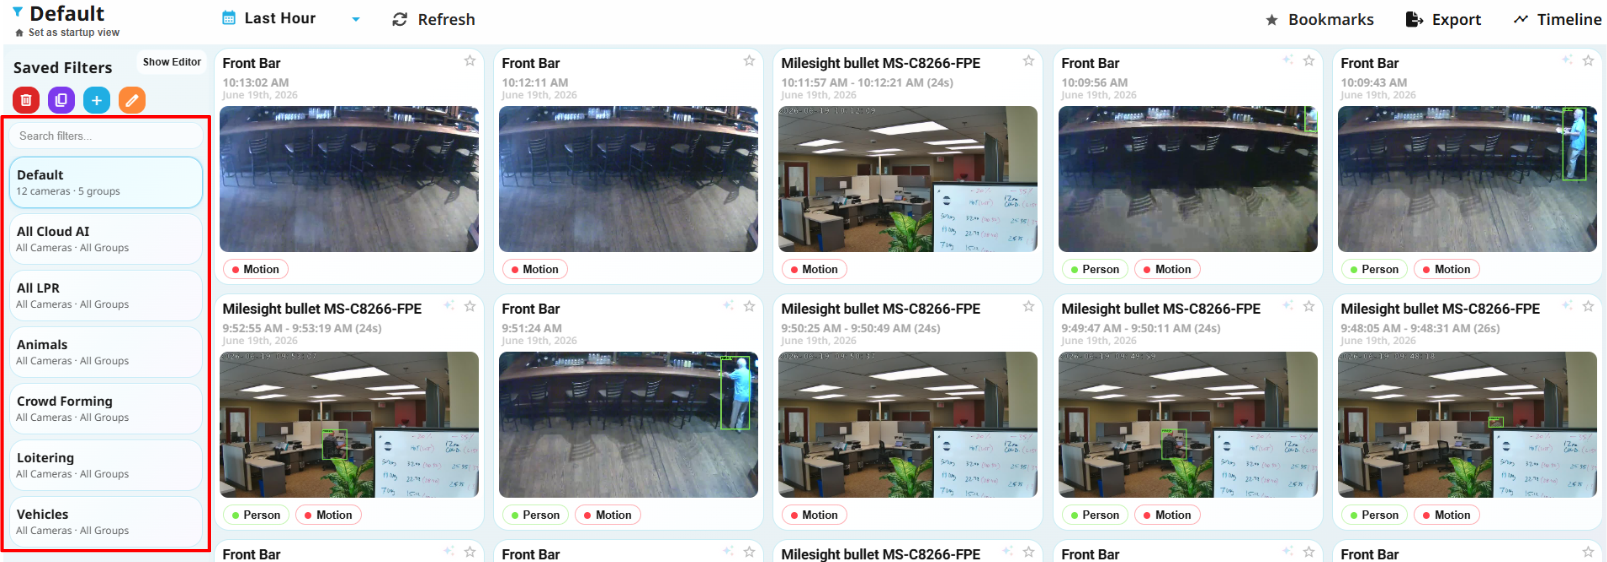
Once you save the filter you can select it from the panel on left, and now you will be be able to view you exactly want to see these events for the selected cameras:
Reviewing The Events
Once you have found an event you think may be helpful, you can start by hovering over it to get a preview of the event.
Once you've found the event you want to review, click on it to get the pop-out video player.
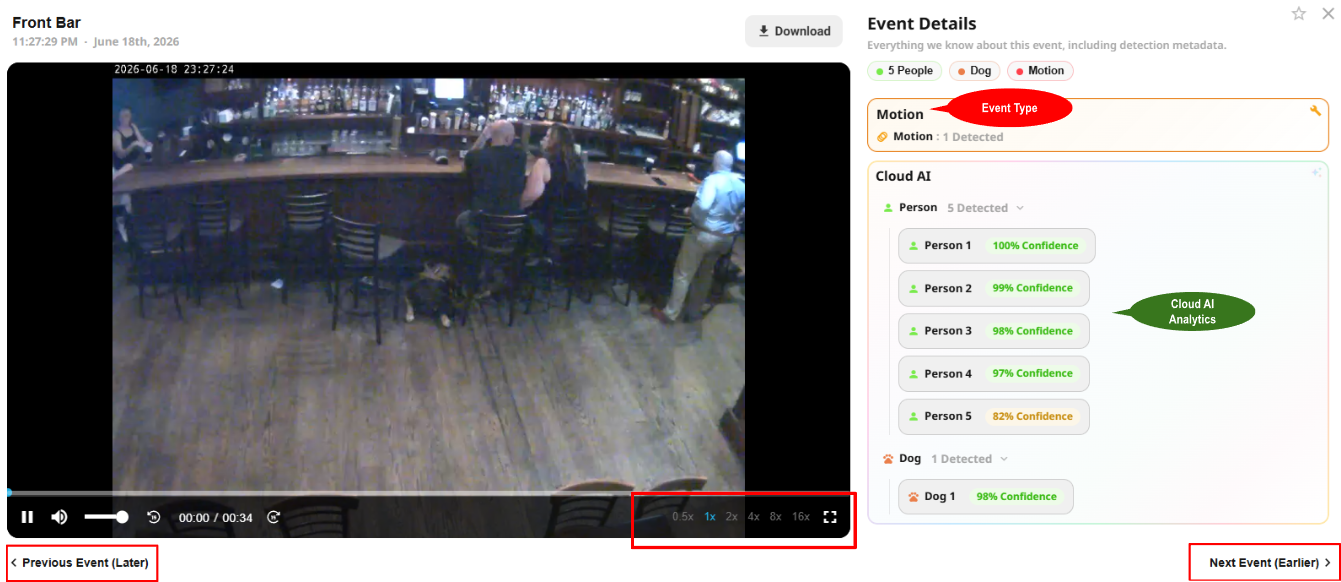
The pop-out video player will show you the type of Event and the Cloud AI Analytics (if available). You will have the option to fast forward up to 16x, as well as to continue to play the footage past the event (it will keep playing from exactly the moment the event ended). You can skip to the next or previous events with the following buttons at the bottom of the video player.
Downloading Events
In the Event Explorer you are able to direct download the event as a MP4 file to your local storage by clicking the download event button in the multi-view or playback view:
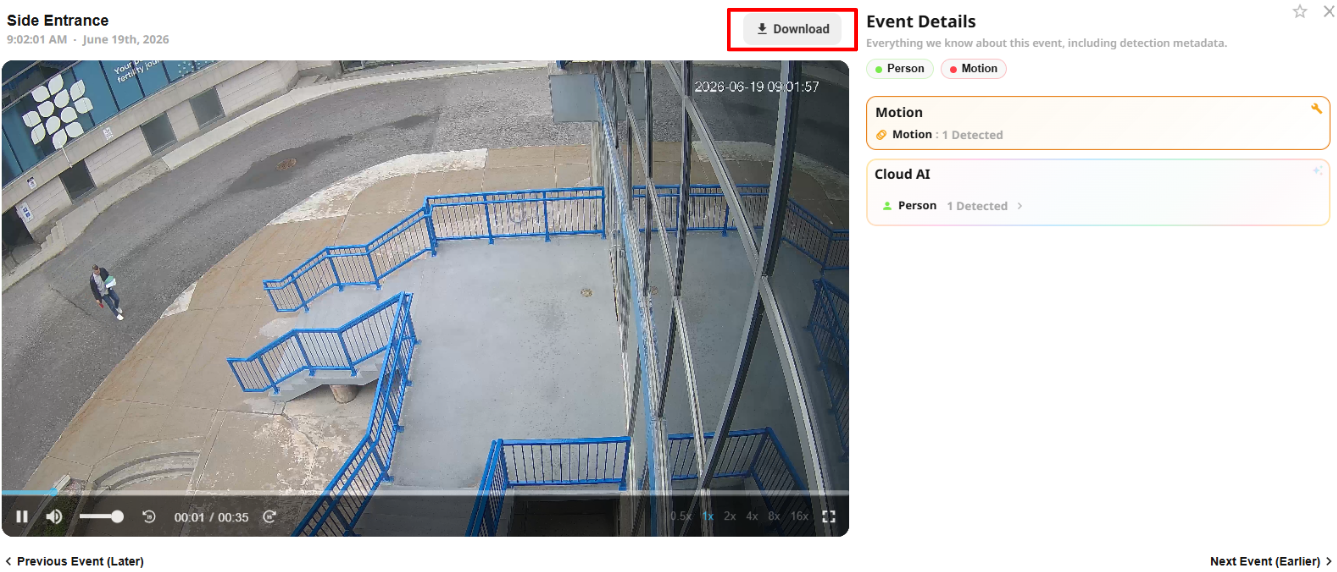
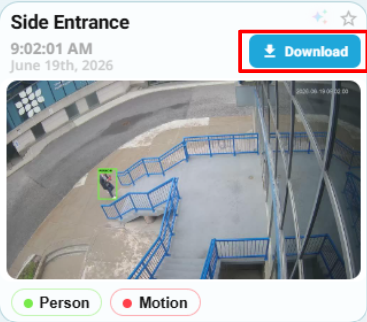
When you click the Download button you'll have several options:
Video - a small mp4 that contains the event
Image - only if the camera as specific analytics or you have Cloud AI enabled
GIF - a few frames stitched together
LPR report - a pdf file with license plate information. Only available if you have an LPR setup.