Important note: It's always a good idea to look for firmware updates for your Amcrest camera. Keeping your firmware up-to-date ensures that the camera has the latest patches and fixes which will keep it working well.
Mobile setup
If you have the mobile app, you can fully setup the Amcrest camera.
Step #1
Plug the ethernet cable from the POE switch/router to the camera.
Step #2
Make sure your mobile device is on WiFi. Tip: Most Amcrest cameras work on the 2.4GHz band. Many networks have both bands (2.4 and 5GHz). Make sure you are on the 2.4GHz WiFi network if you are setting up a camera that supports 2.4GHz only.
Step #3
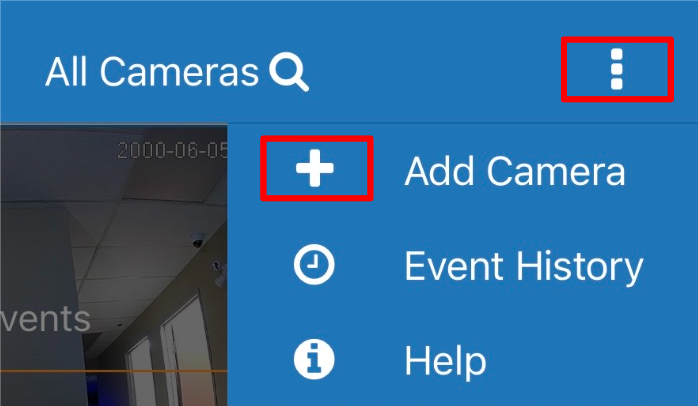
Click the three dots and then click the plus (+) sign and select Amcrest.
Step #4
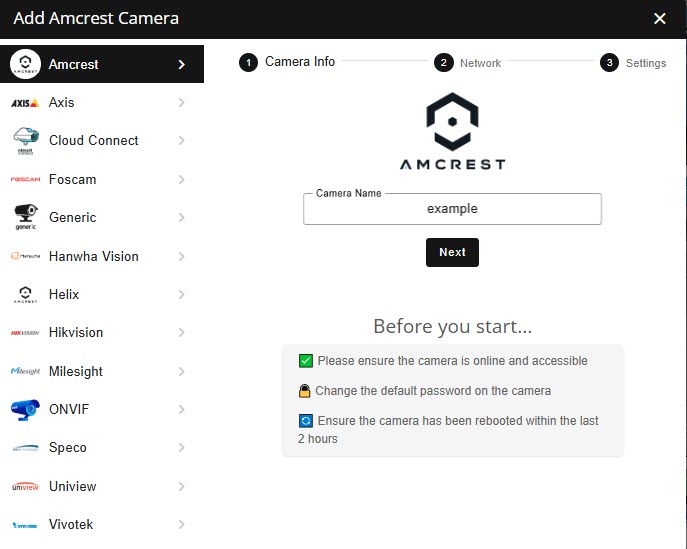
Input the camera name and click "Next". Follow the onscreen instructions.
If all goes well you should be able to setup your camera, assign a password (if it's brand new out of the box) and setup the camera on WiFi if capable.
Web setup
If you are setting up the camera on the web you first need to setup the password.
Step #1
Configure the password for your camera.
The camera cannot be added with the default password so you will need to configure it as follows:
Plug your camera into one of the ports on the back of your router with a network cable. Most routers have ports labelled 1-4 on the back that the camera can be plugged into. Your camera may have come packaged with a network cable. If it did not, you will need to purchase one separately.
Once the camera is plugged in, it will be auto assigned an IP address. To find the address, download the Amcrest IP Config Tool from here. Once you install the tool, run it to find the IP Address of the camera. The default username and password for Amcrest cameras are "admin" for both.
Using the IP address that was found with the Config Tool, log into the camera interface to change your default password. Once logged in, navigate to Setup (top right) > System > Manage Users. This may vary, but should be the path for most Amcrest Cameras. Check your camera documentation if you find that this path is not applicable.

Step #2
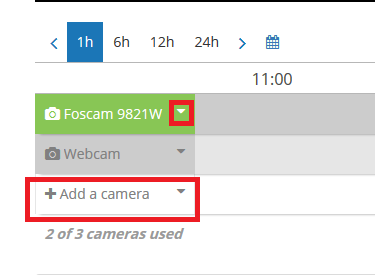
First Login to your account. You should see your "Timeline". Start the "Add Camera" Wizard. Click on "Add Camera" and pick "Amcrest". Enter a name for your camera and click next.
Step #3
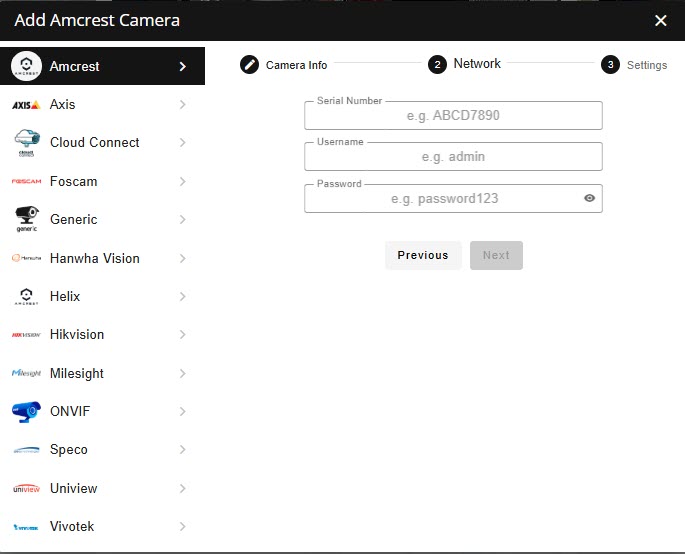
Once you click on next, you'll have to add in your camera's username and password along with the camera Serial number. Click "Next" when you are done.
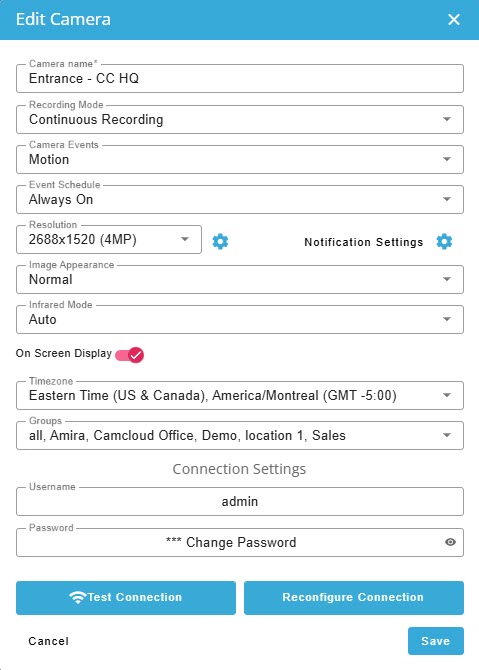
Step #4
This is where you can also change whether or not you'd like notifications, Image Appearance, Quality and IR Mode (optional) Once you're done, click on "Finish".
Now the setup wizard will configure your chosen settings and close.
Amcrest IVS - AI events
By default we will setup and use motion detection. However that can be noisy. Use Smart Motion Detection and/or IVS instead.
Smart Motion Detection
Instead of using plain old motion detection, use smart motion detection so that it will only trigger on a person or vehicle.
Log into the Camera UI and go to Setup. Click on Event -> Smart Motion Detection
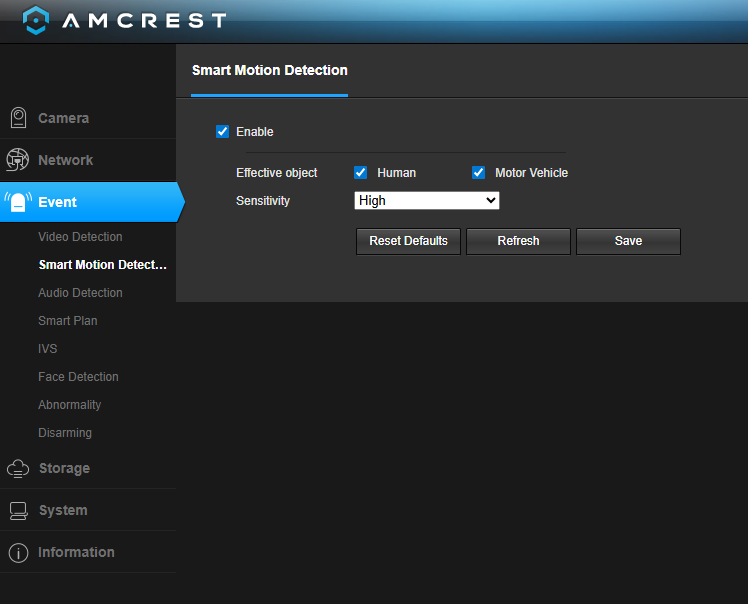
Enable this event and you'll get notifications only for person (human) or vehicles.
IVS
In order to get specific IVS events you need to first turn it on under the Smart Plan.
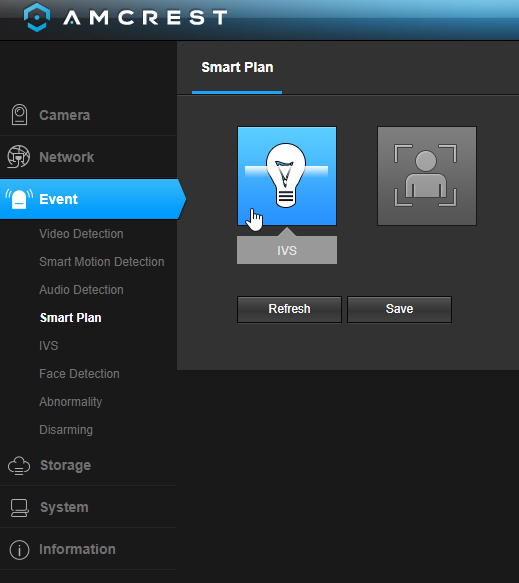
Next go into IVS and create any rule you want. Press the + icon to add a new rule.
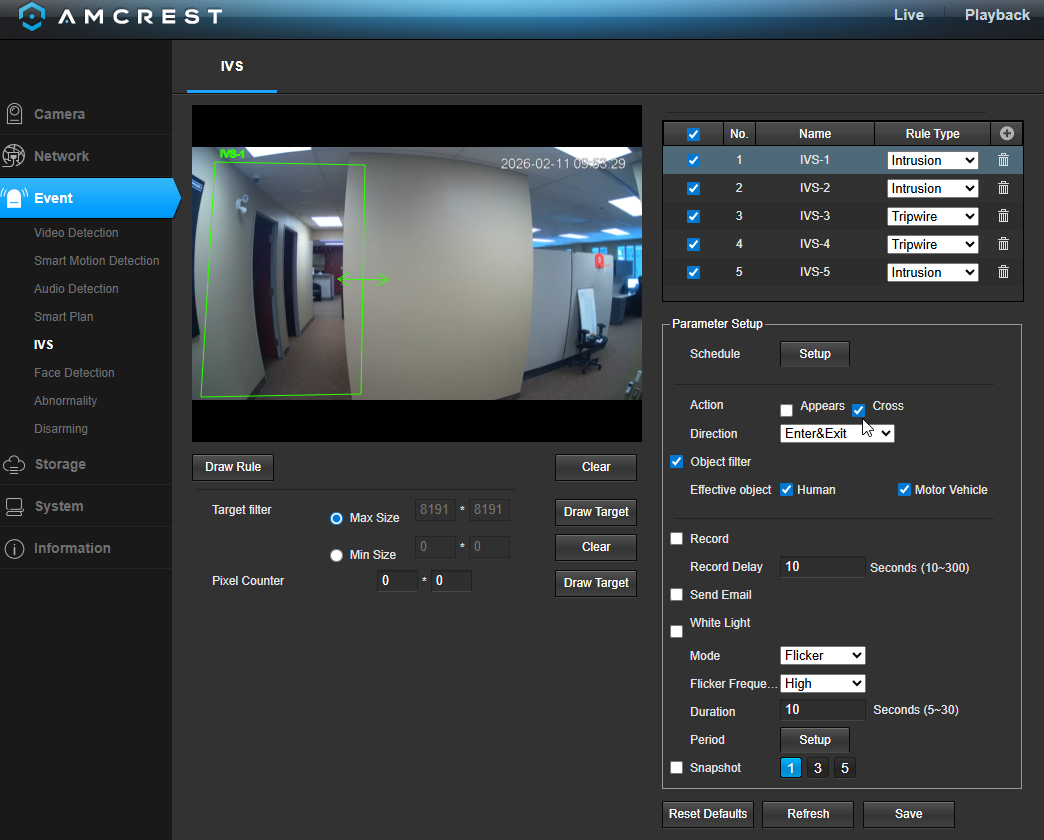
Important steps:
Draw your area (for intrusion) or line (for tripwire). Right click to stop drawing.
Choose your Direction and Object filter (human and/or vehicle)
Turn off Snapshot
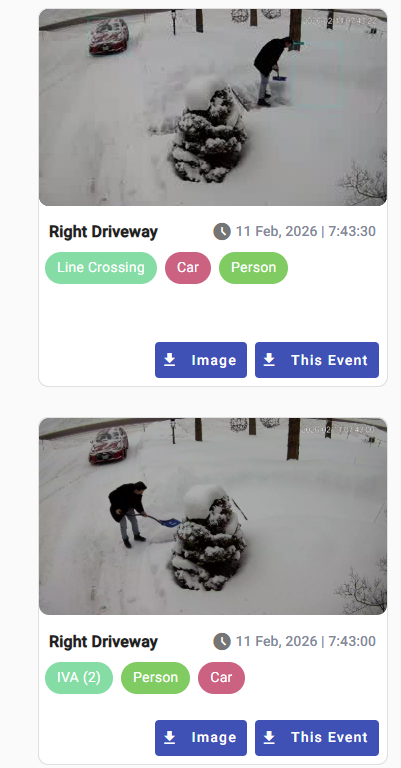
Now when you go to the Event Explorer you can see those specific events. Here is an example of Line Crossing (tripwire) and an example of a combination where you see IVS (2) - that means there are two detections and they are combined into one event that happened at the same time. Click in that event to get more details.
Unsupported Amcrest cameras
Any Amcrest Smart Home camera (models starting with AS* or AD*) or any Amcrest Link camera are not supported.
In addition these old models are no longer supported:
IPM-722S
IP2M-842B/W
IP2M-844EB/W
IPM-743ES
Known issues
IP4M-1051 - this requires the latest firmware. After upgrading firmware, it's required to factory default the camera to reset everything.
IP8M-2493E, IP8M-2454E, IP8M-T2499E, IP8M-MT2544E, IP8M-MB2546EW - These cameras require the latest firmware to avoid a corrupt audio stream.
Firmware build 2020-10-22 - This firmware has a known issue with live view streaming. Upgrade firmware to resolve this.