There are two ways to add a camera. One is with our Secure Tunnel or you can port forward. This article will cover the port forwarding option but see our Secure Tunnel Manager documentation if you need to add it without port forwarding.
Setup with Port Forwarding
Note: Before starting, make sure that you've port-forwarded your camera. If you're unsure how to start the port-forwarding process, take a look at our guide.
Start the "Add Camera" Wizard
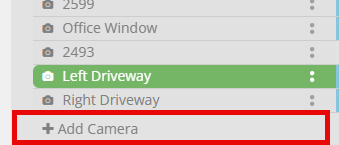
First, log in to account. You should be brought to your "Timeline" where your existing cameras are listed or go to the main menu to "Add Camera".
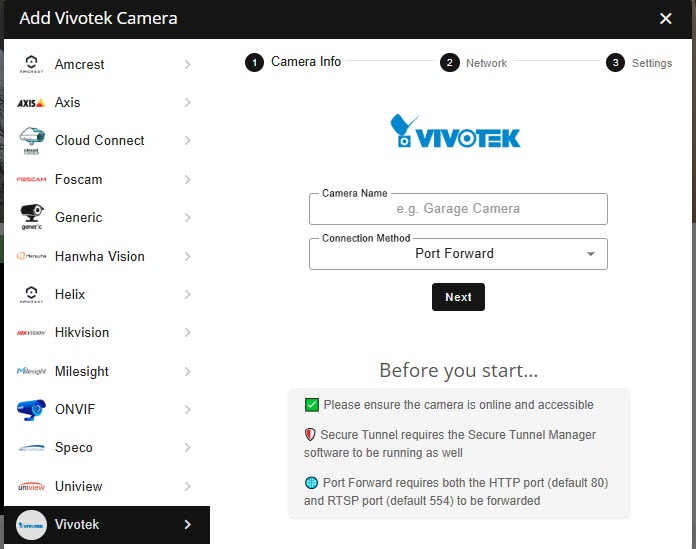
Click on "Add Camera", select "Vivotek", and pick your model. Name your camera whatever you'd like.
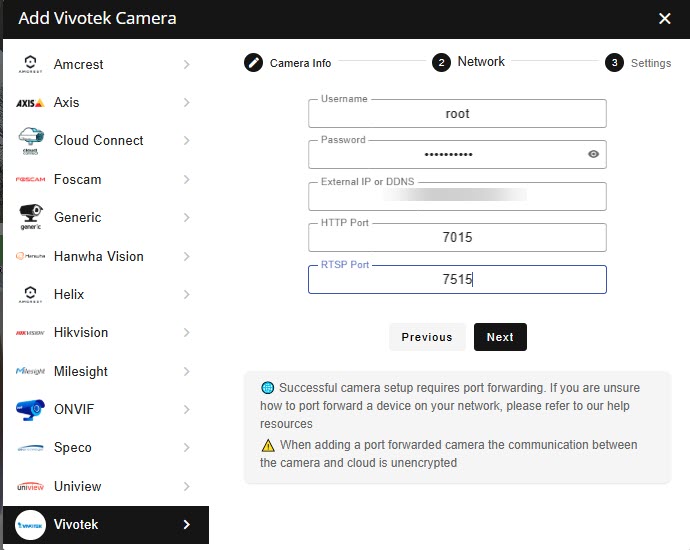
After clicking Next, enter your camera's username, password, IP address, RTSP port, and HTTP port. Ensure that your RTSP and HTTP ports are forwarded on your router. Make sure to use an "admin" user as other levels have no access to use the APIs.
Click on Next. (**See Below for troubleshooting step if you encounter RTSP Failure)
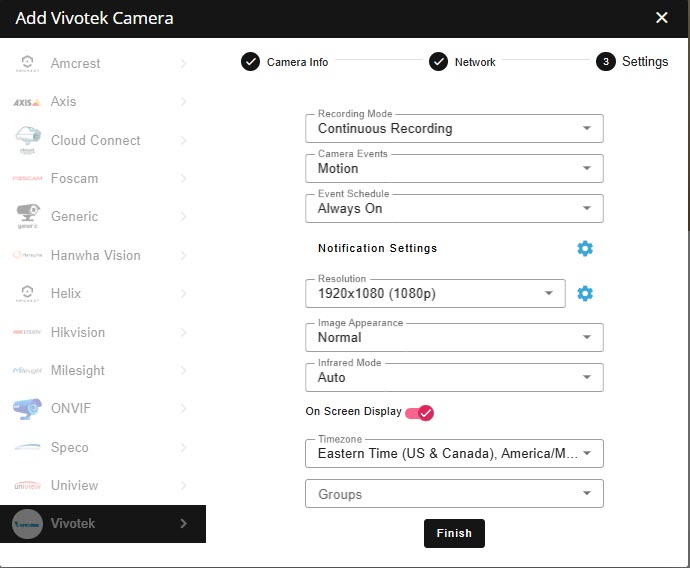
Here, you can change notification settings, encoding, resolution, and other details. When you're done, click "Finish".
Now the setup wizard will run through its process and confirm that it completed the configuration successfully.
Troubleshooting
RTSP Failure
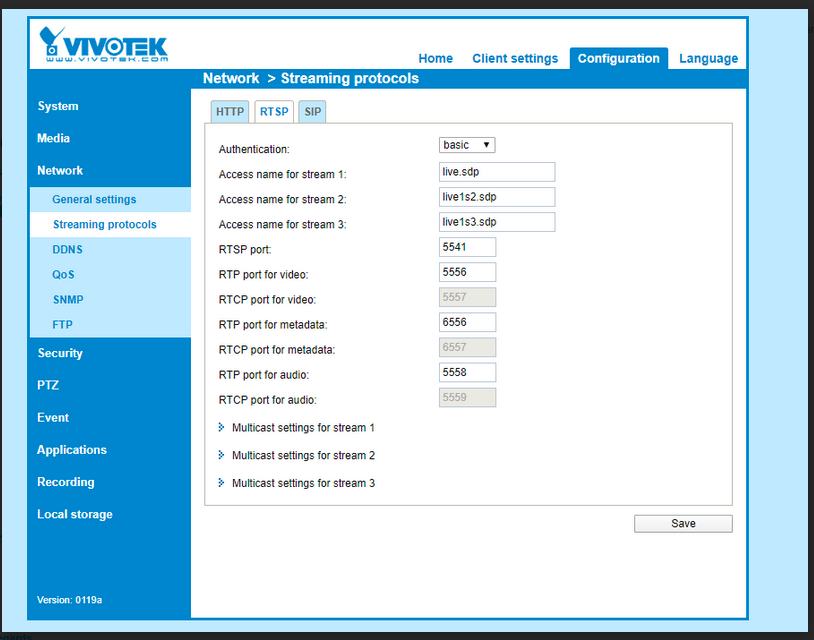
If you get a failure adding a Vivotek check the RTSP path. Some older models use:
/live.sdp
While newer models use:
/live1s1.sdp
Adding the camera with Secure Tunnel Manager it's important to know what's correct.
If you encounter an RTSP failure while trying to add it directly, you should double check the following setting on the camera.
Change live1s1.sdp to live.sdp in the Configuration > Network > Streaming Protocols > RTSP > Access name for stream 1