Speco Plug & Play Camera
You can find a list of cloud supported Speco cameras here if you scroll down. Please confirm your camera is in this list prior to ordering, as mentioned not all Speco cameras have cloud support.
Pre-requisite
This guide assumes that the camera is connected to the local area network (LAN), that the camera’s IP address is known, and that the camera password has already been configured.
Step 1: Login to your camera

Step 2: Click on Config

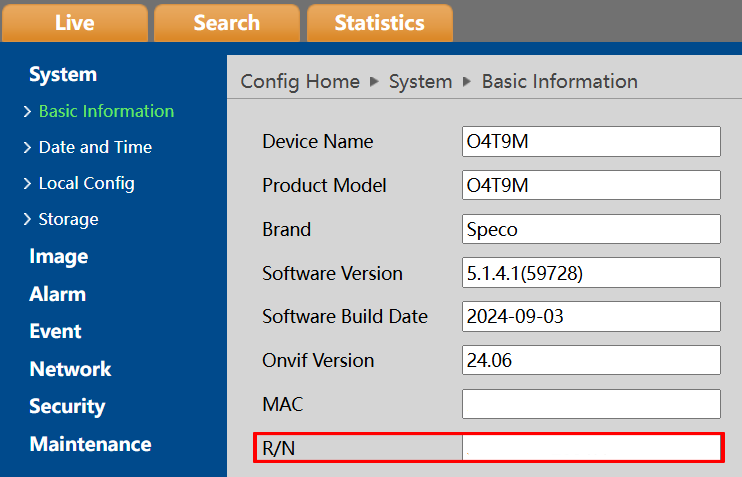
Step 3: Check Camera Token/Serial Number
Under the System menu, click "Basic Information" and from this page you can get the camera token/serial number of the camera.
Additional Information
It is recommended to check for firmware updates for your Speco camera regularly. Keeping the firmware up-to-date ensures your device has the latest patches and fixes for optimal performance.
Please note that certain APIs, such as Timezone/OSD and Reboot, are not available for Speco cameras. Consequently, when deploying a camera, you should manually configure the timezone OSD through the camera's web interface.
Mobile setup
Step 1: Download our mobile app
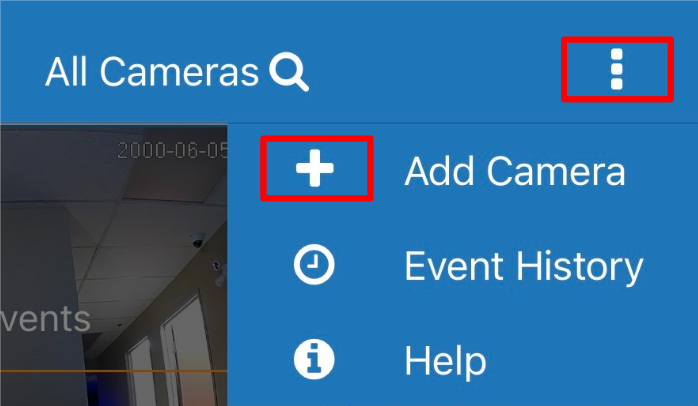
Step 2: Add Camera
Login to the mobile app with your credentials. Tap on the three dots on upper right corner and tap "Add Camera".
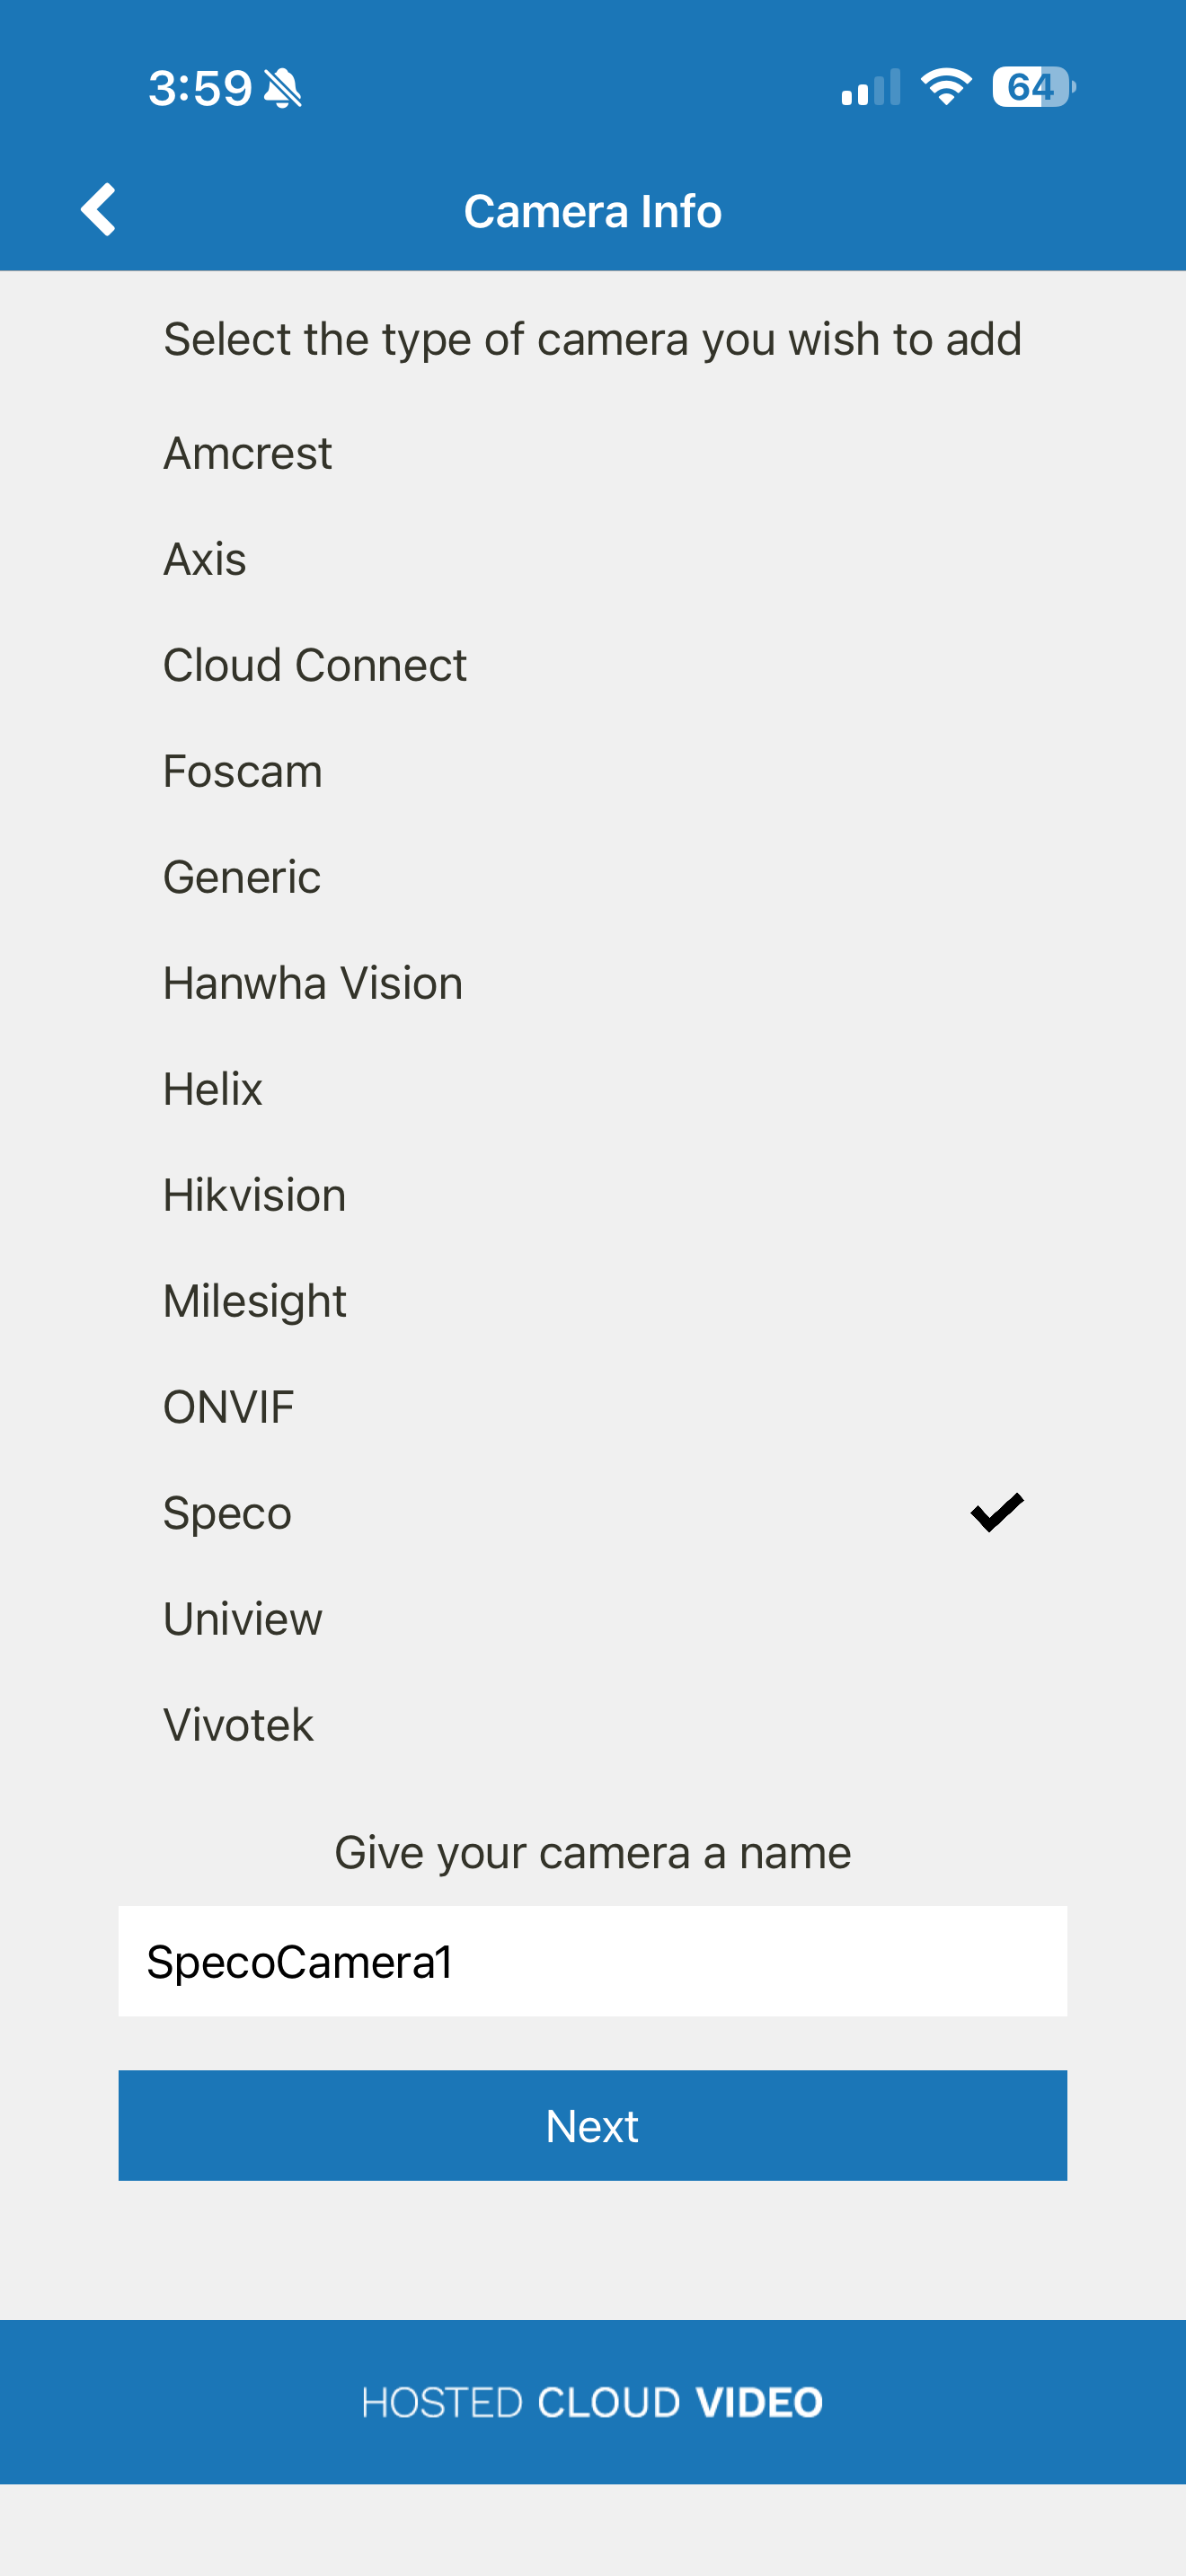
Step 3: Select Camera Type
Select "Speco". Input the camera name. Tap "Next"
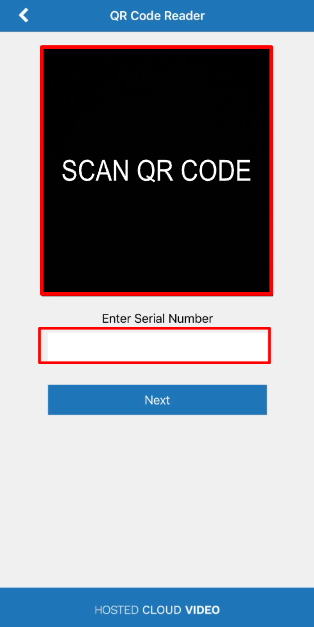
Step 4: Input Camera Information
Input the camera token/serial number or scan the camera's QR Code. Tap "Next"
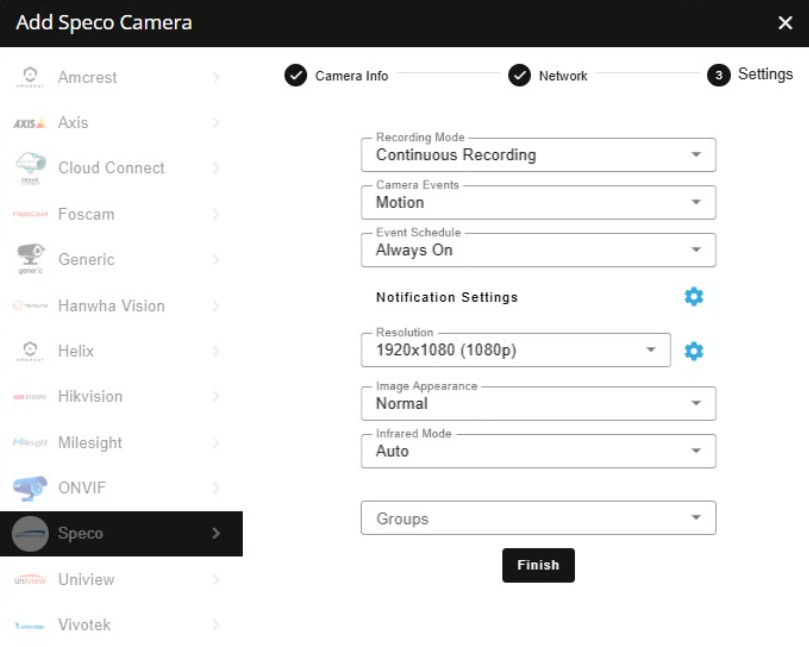
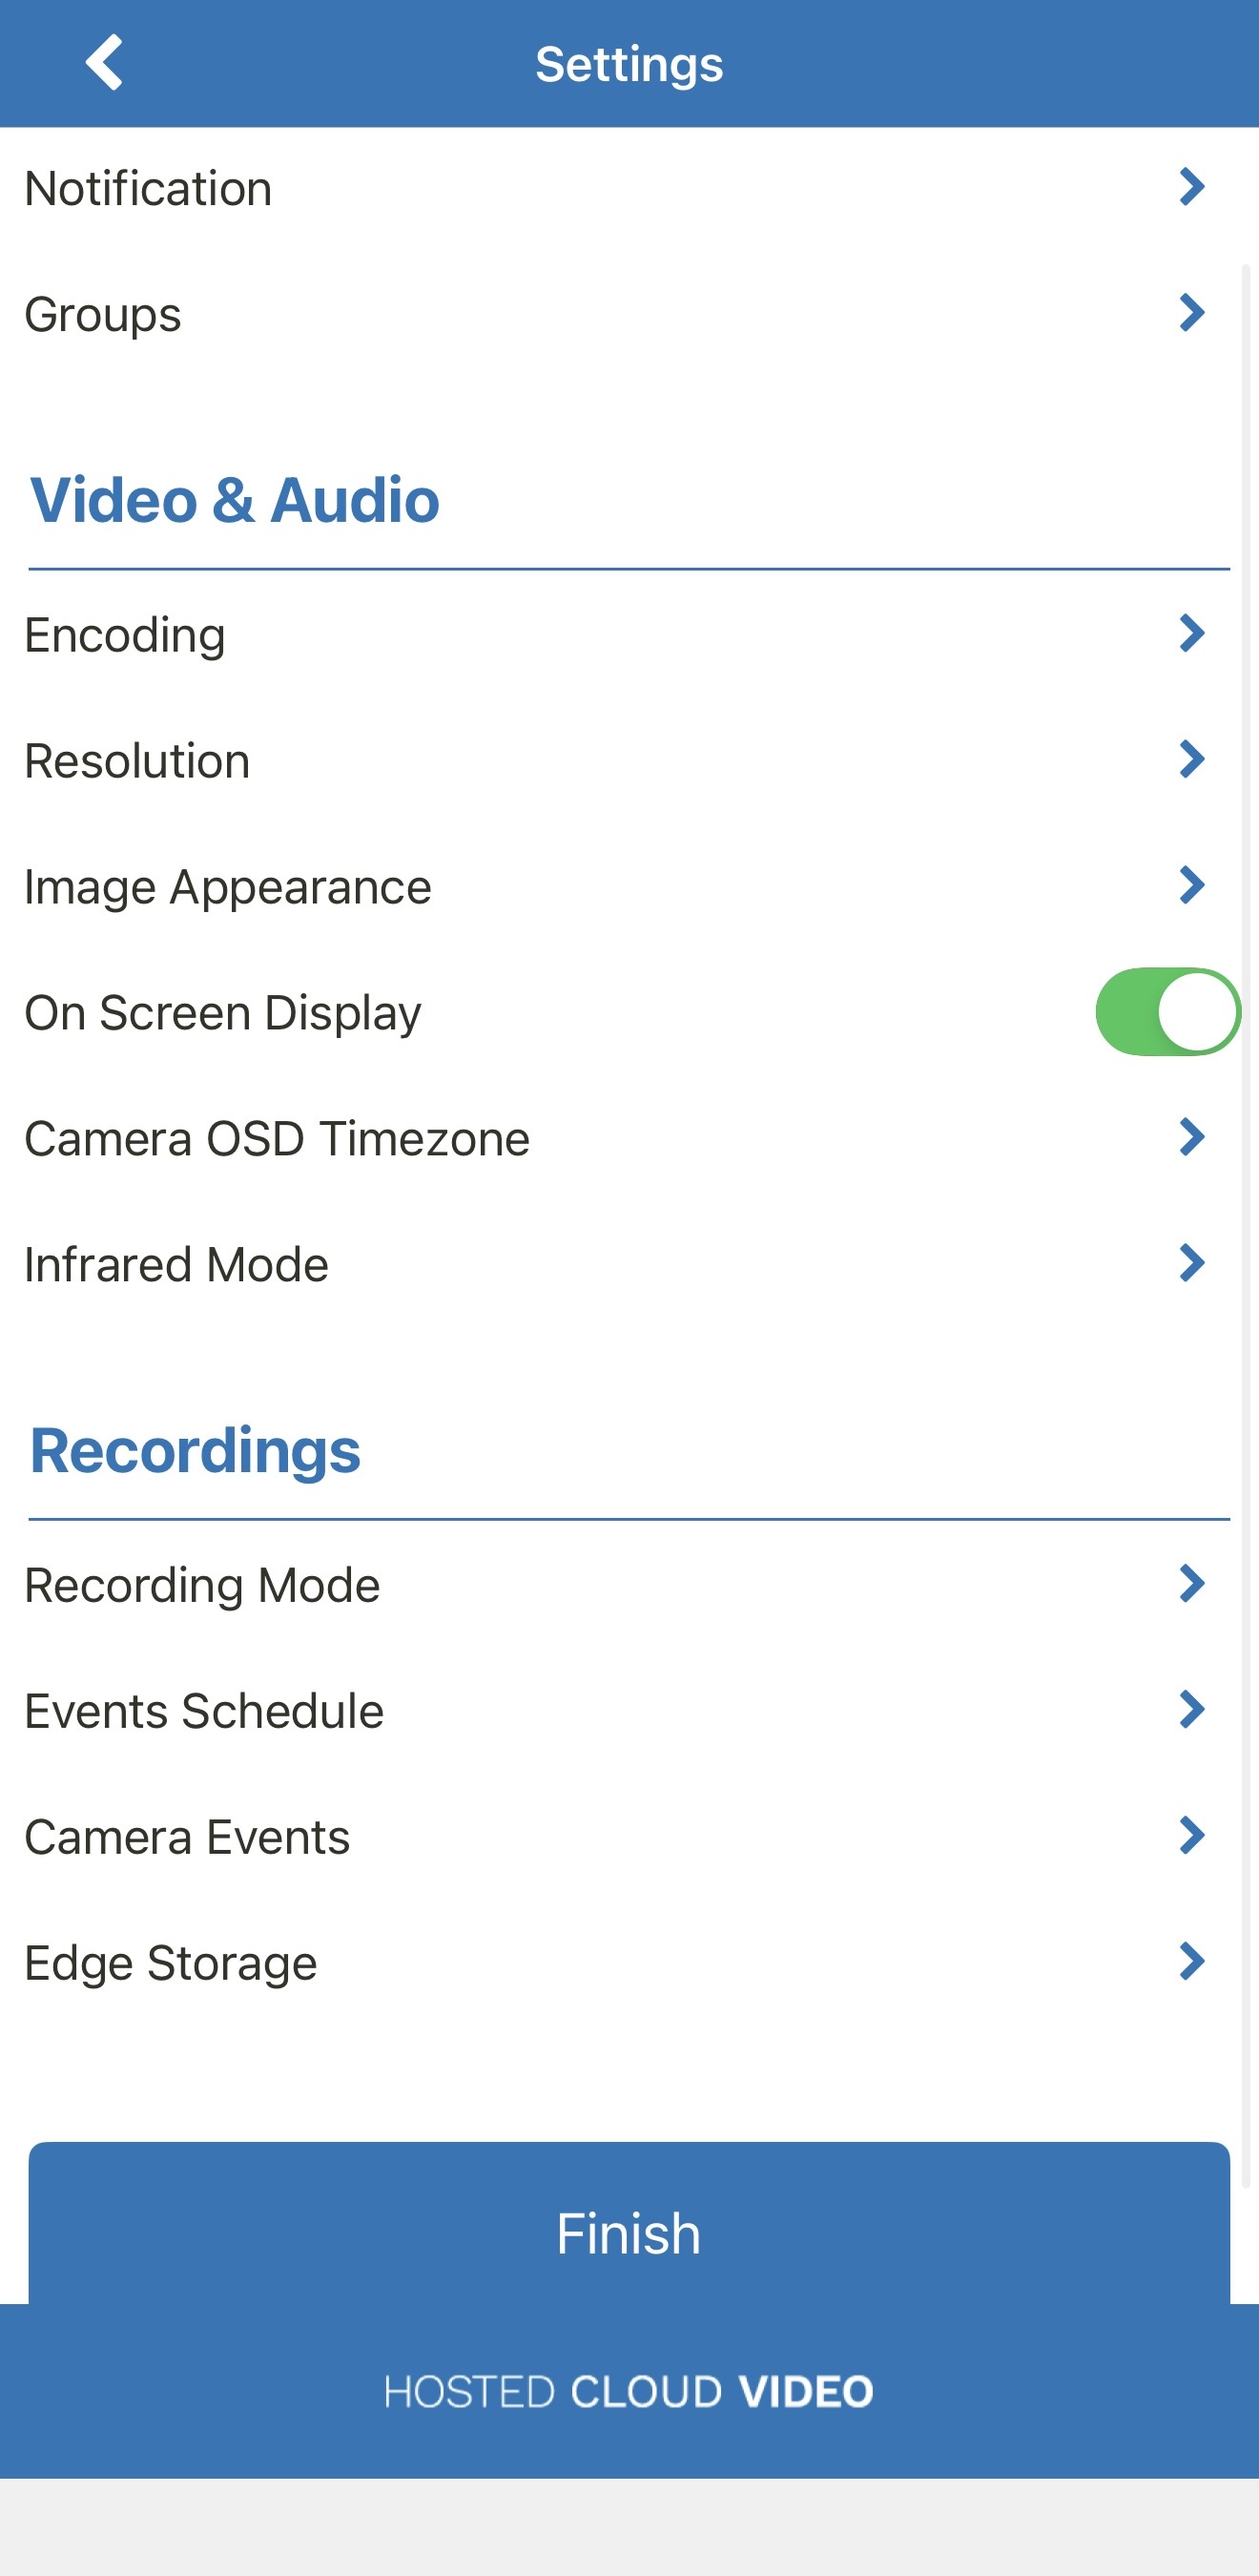
Step 5: Review Settings and Finish
You can edit your preferred camera setting and then Tap "Finish"
Web setup:
Step 1: Login to your portal
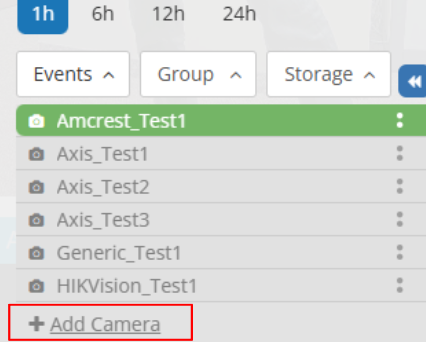
Step 2: Add Camera
On the bottom left of the screen, click on "Add Camera"
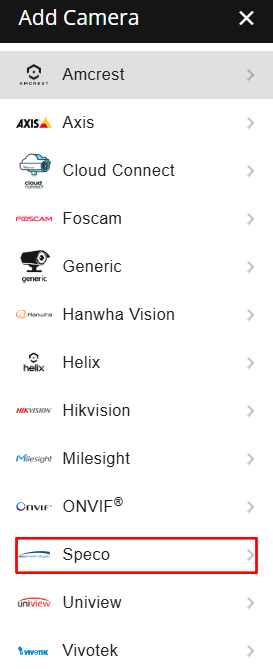
Step 3: Select Camera Type
Select "Speco"
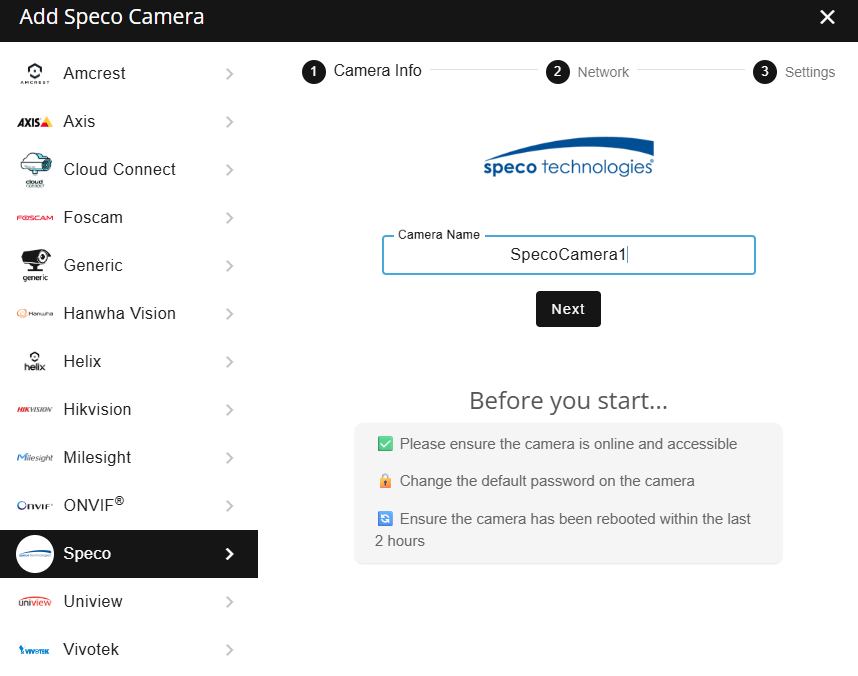
Step 4: Input Camera Name
Input the camera name and click "Next"
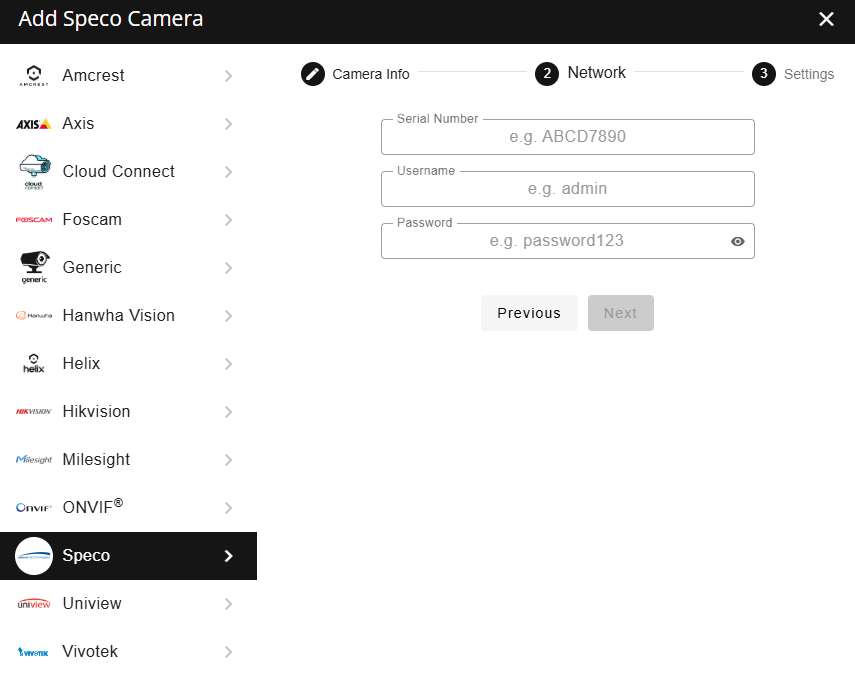
Step 5: Input Camera Information
Input the camera serial number, username and password. Click "Next"
Step 6: Review Camera Settings and Finish
You can edit your preferred camera setting and then click "Finish"