Dahua Camera
This article explains how to setup a Dahua IP camera with Camcloud to enable cloud storage and other features.
First you want to get your IP camera on your network. Follow your camera's documentation to complete this step.
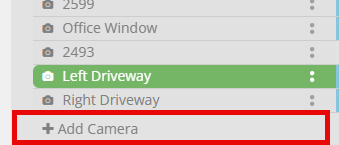
Login to camcloud.com and go to the “Timeline” page. Locate and select the add camera bottom at the bottom left:
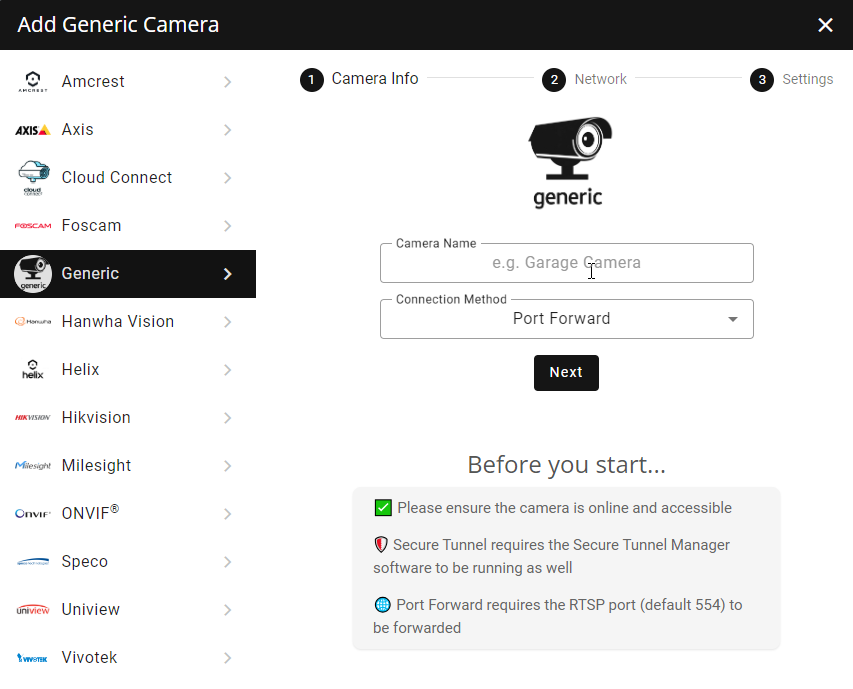
There are 3 general steps required to setup a Dahua IP camera with Camcloud.
1. Camera Info.
Select your camera type (in this case select Generic). Select your camera name and the connection Method, we will cover the Port Forward method, but it can be added with "Secure Tunnel", see our Secure Tunnel Manager documentation if you need to add it without port forwarding.
2. Network
If you have not setup the camera on your network with port forwarding, please STOP HERE. Read our Port Forwarding Guide for instructions on this before proceeding further.
It's also highly recommended you setup a static IP address for your camera with a properly configured DNS. This will ensure your camera always has the same IP address on your network should the router reboot for any reason. Read our Static IP & DNS Setup Guide.
Once you’ve done this, complete the rest of the form.
- The username and password are the camera’s login credentials.
- The external IP will already be filled in with your current IP but you should verify it is correct - an easy way to accomplish this is to Google “my IP”. A better option is to register with a dynamic DNS provider such as DynDNS and enter the domain name. (Tip: Many cameras already provide a free DDNS service with the purchase of your camera. Check first!)
- Port is the RTSP port you assigned to this camera, typically 554. However if you provided a different external port in the port forward rule be sure to use that here instead.
- Finally you need to identify a "RTSP path" for your camera. Search for RTSP stream in your camera documentation.
3. Event Settings
Once your camera is setup on your network there are a few remaining settings required in order to add cloud storage of your events.
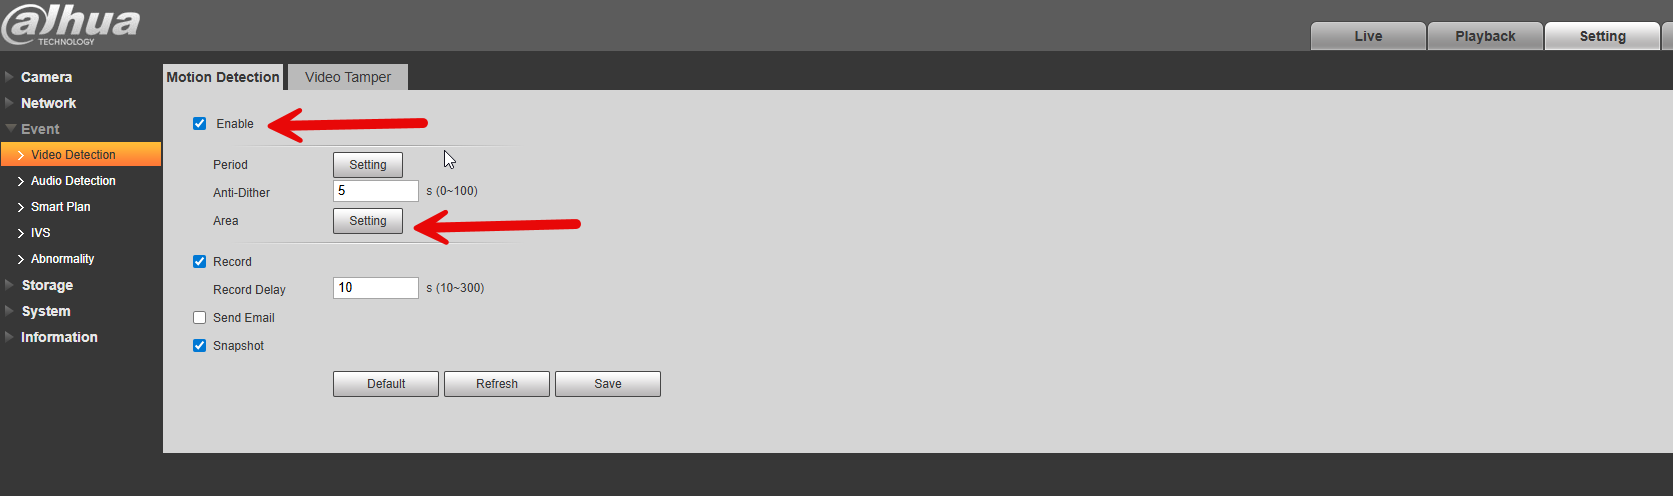
First, configure your camera to send events. This may vary per camera model but typically involves three steps:
This varies per model but you need to "Enable" motion detection and draw a motion area
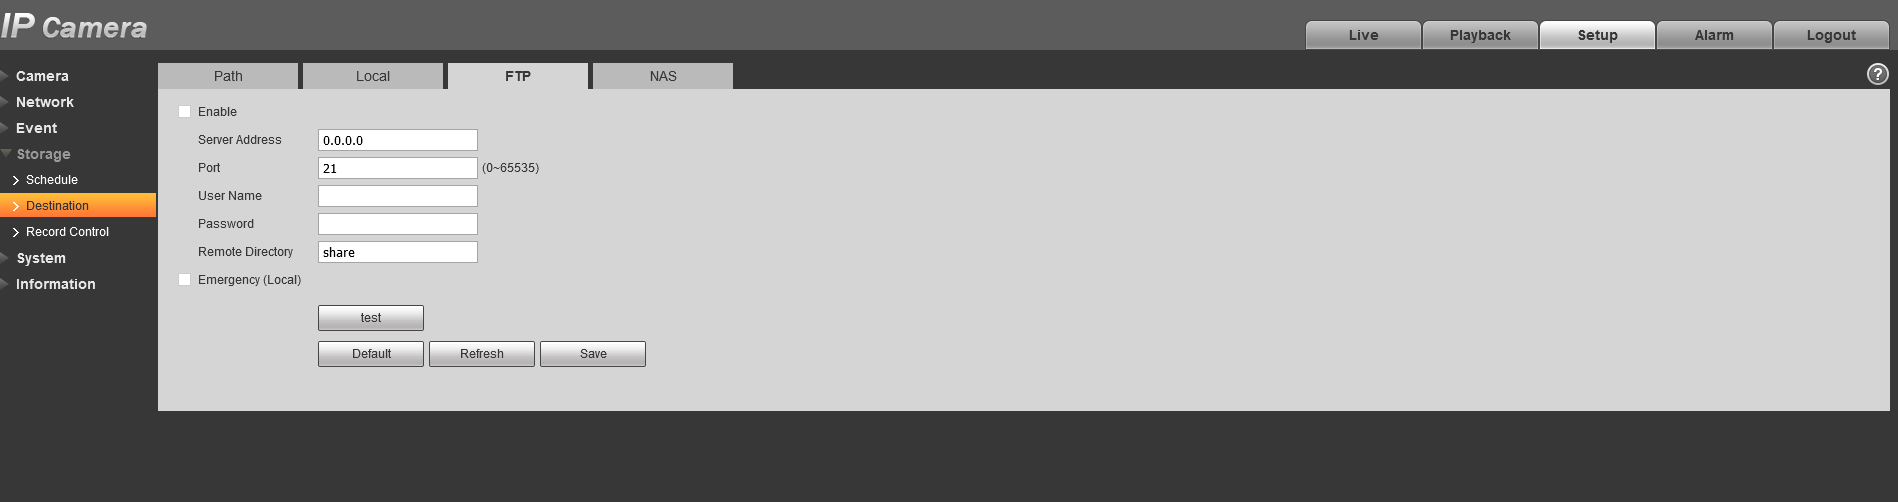
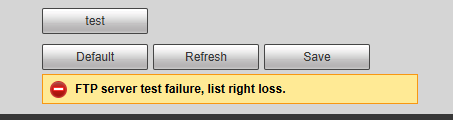
Input FTP credentials. Your camera will have a place to enter the FTP credentials. Take the credentials provided to you when you created the camera. Enter the address, your credentials, port (21) and make sure to select passive mode if you have that option:
Now you need to tell the events to go to the FTP - Usually found in the Destination -> Path menu. In the screenshot below it adds the events all across the board but you only need to do this for "Snapshot" and "Motion Detection". But to be safe you can check them all.

Once you’ve added these settings to your camera’s configuration, you’re ready to start using your Dahua camera with Camcloud!