
There are two places where timezone can be very important.
- Viewing your timeline of recorded events - See Edit Profile
- On Screen Display (OSD) that is on the camera image - See OSD
Setting the timezone for your recorded events
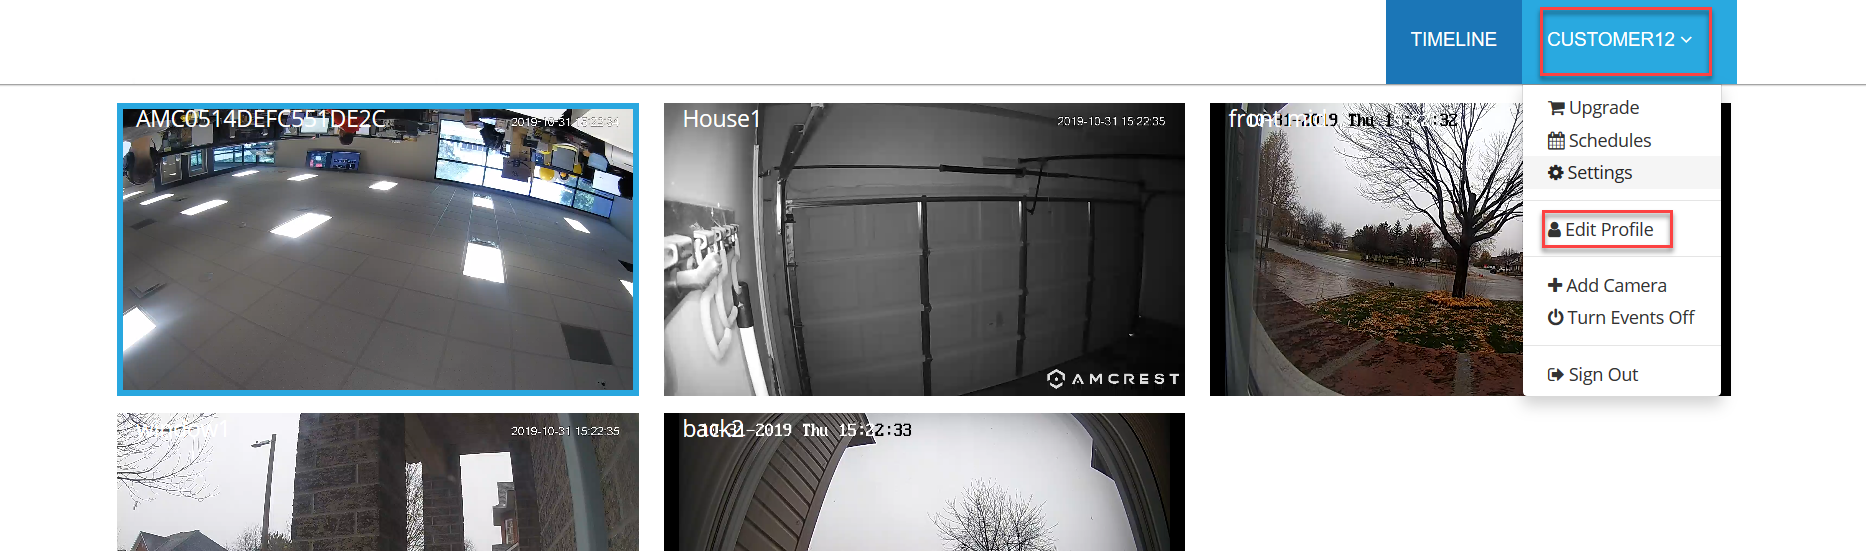
You can either set the timezone in your web customer portal or using the mobile app. On web log in to the timeline view, select the drop down at the top right (this is your name) then select “Edit Profile”:
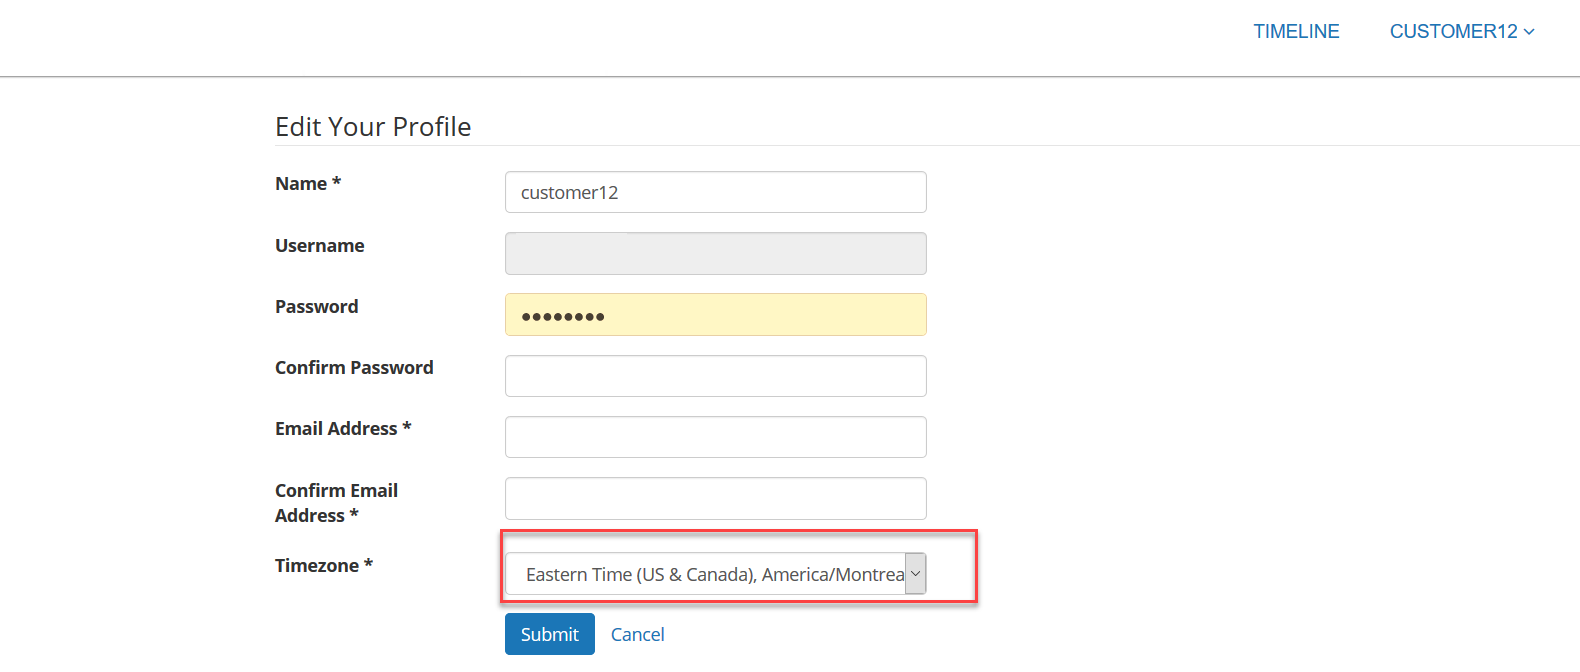
Select the correct time zone from the drop down menu highlighted below and click “Submit”:
On mobile you can do the same thing. When logged into the mobile app, select the hamburger icon at the top left, then select “Settings" -> “Edit User Profile”. Scroll down to the bottom in the Edit User Profile selection and you can select your Timezone in the “Timezone” field. After selecting this click the save icon at the top right:

Setting the camera on screen display (OSD)
If you want to see the time shown on the actual camera image you need to set the OSD. Currently supported for Axis, Hanwha, Amcrest and Hikvision cameras and can be set via the edit camera menu in the timeline (web or mobile) or Admin Portal (Business plans only). Make sure On Screen Display is turn ON:

Note for business plans: The cameras timezone will be inherited from the timezone setting of the customer admin account when the camera is added initially, so to avoid this step make sure when doing a deploy that this timezone it set properly prior to adding the camera
For other camera types you can set the OSD by going to the camera interface. Consult your camera's documentation for instructions.